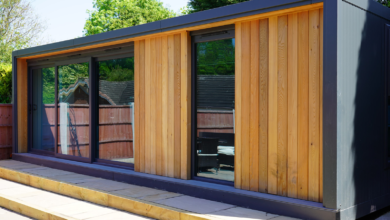
One of the best ways to make your house more energy efficient, look better, and increase its value is to get custom windows. However, even the most beautifully designed windows won’t perform well if they aren’t measured and fitted correctly. Whether you’re planning a full home renovation or simply replacing a few panes, accurate measurements are crucial for achieving a seamless installation. Here’s a step-by-step guide on how to measure for perfectly fitted custom windows, so your new windows are exactly what your home needs.
Why Proper Measurement Matters
Poorly measured windows can lead to costly problems like air leaks, water infiltration, and inefficient insulation. These issues not only affect comfort but also drive up energy bills. Especially in regions with fluctuating temperatures, like when installing new windows Calgary, ensuring a precise fit is essential to withstand seasonal changes.
Step 1: Gather the Right Tools
Before getting started, you’ll need:
- A reliable steel measuring tape
- A notepad or mobile device for recording measurements
- A level (for checking squareness)
- Safety gear if working on upper floors
Always measure in inches and round down to the nearest 1/8 inch to avoid overestimating space. It’s better for a window to be slightly smaller than too large.
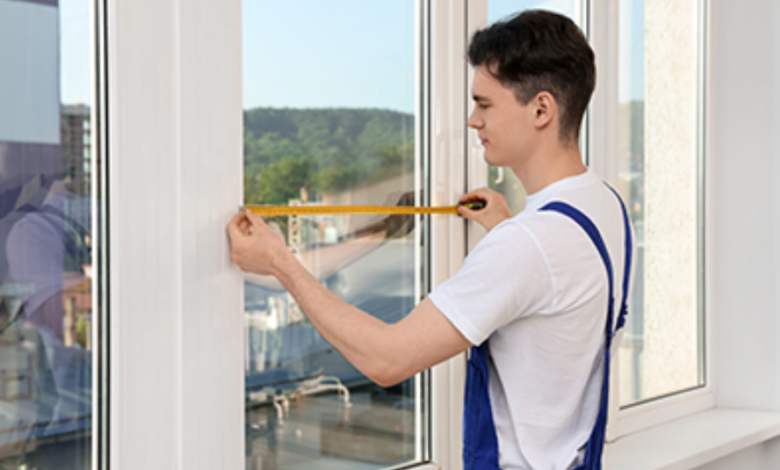
Step 2: Measure the Width
There are three ways to find out how wide your window hole is: one at the top, one in the middle, and one at the bottom of the window frame. Measure from jamb to jamb (the inner sides of the frame), not from the trim or casing.
- Top Width
- Middle Width
- Bottom Width
Record the smallest of these three measurements. This ensures the window will fit the narrowest part of the opening without forcing adjustments.
See also: Why Fitted Bathrooms Are a Smart Investment for Your Home?
Step 3: Measure the Height
Next, measure the height of the window opening in three places: left side, center, and right side. Measure from the sill (the bottom inside edge of the frame) to the head (the top inside edge).
- Left Height
- Center Height
- Right Height
Again, record the shortest measurement to ensure a secure fit.
Step 4: Check for Squareness
Using a level, measure both diagonals of the window opening from corner to corner. If the diagonal measurements are the same or within a 1/4-inch difference, your opening is square. If not, you may need to make adjustments during installation or use shims to accommodate the discrepancy.
Step 5: Assess Window Depth
Depth matters when choosing window frame materials or styles. Measure from the outside edge of the exterior trim to the inside trim (also called jamb depth). This helps determine whether the wall can accommodate certain window types, especially triple-pane options often chosen for improved insulation in colder climates.
Step 6: Note Additional Features
Custom windows can be tailored to match specific architectural details. Make notes of any existing features like arched tops, grids, or special trim. Providing this information when ordering ensures the new window will align perfectly with the design of your home.
When to Call in a Professional
While DIY measurement is possible for standard openings, complex window styles or multi-pane installations are best left to professionals. An expert can provide peace of mind, especially when investing in high-performance new windows in Calgary that need to stand up to the area’s diverse weather conditions.
Final Thoughts
Getting the right fit for custom windows begins with accurate measurements. It’s not just about width and height—it’s about understanding the structure and character of your home so your new windows perform at their best. By taking the time to measure correctly or consulting with a professional installer, you’ll ensure that your investment enhances your home’s comfort, energy efficiency, and curb appeal for years to come.